Friday, October 8, 2010

Mary's NO FAIL Pie Crust ....

This is a recipe I got from my sister.  Her mother in-law is a great cook/baker and has a lot of recipes that have been in her family for decades and this is one of them.  This is literally a NO FAIL pie crust recipe.  I had tried many recipes before and my pie crust never turned out well until I tried this amazing recipe! It's simple, easy and always turns out well!  I think what makes the dough so manageable is the apple cider vinegar, try it for yourself and tell me what you think! 

**You can use this recipe for any kind of pie, I was making pumpkin pie so that's why my crust looks the way it does in the picture below.

Perfect Pie Crust ;)

 INGREDIENTS: (Makes 2 pie crusts)

3 cups of flour
1 tsp salt
1 cup shortening
1 well beaten egg (I like to use the butter flavored kind)
1 tbsp apple cider vinegar
5-6 tbsp COLD water

DIRECTIONS:
  1. In a large bowl, beat the egg and shortening together
  2. Add the flour, salt and apple cider vinegar
  3. Next add water, 1 tbsp at a time until the dough forms into a ball.
NOTE: You can use a mixer to mix all the ingredients, using a dough hook or just some regular beaters.

PICS OF PROCESS:
The recipe is for two pie crusts, after making the dough I split it in half.  I wrap the half I am not rolling out in plastic so it doesn't dry out while I roll out the first crust.

The dough always sticks to my rolling pin so I like to use parchment paper to aid in the rolling out process.  It allows me to roll out the dough as thin as I like without it sticking to my rolling pin.

I place parchment paper on one half of the rolled out dough and fold it in half in order to make it easy to place onto my pin dish.
It's important to make sure there are not air pockets between the dough and the pie dish.   Cut-off the excess edges and decorate to your liking, I also like to prick the dough with a fork before I add the filling so it cooks evenly and doesn't bubble.

Baking a Pumpkin!! (Making Pumpkin Puree)

I was always afraid to bake my own pumpkin and I would usually always use Libby's Pumpkin from a CAN to make all of my pumpkin recipes like pumpkin pie, yum! But my massage therapist totally convinced me to make my own, she made it sound super easy so I decided to give it a go and it turned out perfect! It was so amazing and delicious, I can't wait for you guys to try it!


PUMPKIN PUREE!!!!
INGREDIENTS:
1 small cooking pumpkin (There are TWO different types of pumpkins the ones for jack-o-lanterns, which are BIG and not as sweet and small ones used for cooking that are sweet and tasty)

4 cups water

DIRECTIONS:
  1. Pre-heat oven to 375 deg C
  2. Wash the pumpkin in luke warm water
  3. Cut the stem off the pumpkin
  4. Cut the pumpkin in half
  5. Place the pumpkin face down on a cookie sheet (yes, seeds and all)
  6. Place the cookie sheet in the oven and pour the water on the cookie sheet, my cookie sheet was large enough to hold the 4 cups, if you are using a smaller cookie sheet just make sure the water covers about an 5-10 cm of the pumpkin this will prevent the pumpkin from drying out.
  7. Bake in the oven for 60-70 minutes or until it is soft enough for you to poke a fork into the pumpkin. **NOTE: The time may varying depending on the size of your pumpkin so just keep an eye on it.
  8. Let cool for 5-10 mins.  The pumpkin will be very soft and tender, so I would recommend lifting it off the cookie sheet with a spatula to a plate or cutting board.
  9. Scoop out all the seeds and fibrous material from each pumpkin half and throw away or place it in your compost :)
  10. Scoop the flesh out of each pumpkin half.
  11. You can now puree the pumpkin flesh in the food processor or if it is soft enough you can just mix it with a spoon and use it as is. 
PICS OF THE PROCESS:
Chop, chop, chop!


Adding the water, this was probably the trickiest part!
 
After an hour of baking.... notice the fork pricks!

Scooping out the seeds! It was so soft, the skin was pretty much just peeling off it!

Pumpkin Puree! Blend in the food processor or use as is!

Making my own puree was really fun! Even though it was so simple to do I felt so accomplished doing it, it's nice to be able to stay away from the canned stuff and make my own puree.  Don't get me wrong, the canned puree is SUPER convenient and I will probably keep using it from time to time but the taste of freshly made puree is so much more delicious it's definitely worth making it from time to time.

Wednesday, September 29, 2010

Cinnamon Rolls, Cinnabon Style!

 
Cinnamon Rolls, Cinnabon Style!
 I'm really excited to share this recipe! I found it on a blog entitled "The Girl Who Ate Everything" and she found it at another website, anyway, I tried it today and it was really amazing! I've attempted to make cinnamon rolls before but the dough never turns out light enough, this recipe was really simple but it does take some time to make since you have to wait for the dough to rise but let me tell you, it is well worth it!

INGREDIENTS:

1 cup warm milk (110 degrees F/45 degrees C) (I actually measured the temp and it definitely makes a difference because you dissolve the yeast in it)
2 eggs, room temperature
1/3 cup margarine, melted ( use butter )
4 1/2 cups bread flour or regular flour (bread flour makes for a lighter cinnamon roll)
1 teaspoon salt
1/2 cup white sugar
1 pkg yeast (1/4 ounce)

FILLING:
1 cup brown sugar, packed
2 1/2 tablespoons ground cinnamon
1/3 cup butter, softened

ICING:
3 oz cream cheese, softened (Use real cream cheese, I tried it with fat free the first time and it definitely did not taste the same)
1/4 cup (4 tablespoons) butter, softened
1 1/2 cups confectioners' sugar
1/2 teaspoon vanilla extract
1/8 teaspoon salt


Dissolve yeast in warm milk in a large bowl. Add sugar, butter, salt, eggs, and flour. Mix well. Knead dough into a large ball, using your hands dusted lightly with flour. Put in a bowl and let rise in a warm place about 1 hour or until dough has doubled in size. *I used my Kitchen-aid mixer with the dough hook attached to knead the dough and the dough still turned out very light :)

In a small bowl, combine brown sugar and cinnamon. Spray surface with cooking spray or sprinkle flour on it. Roll dough into a 16x21 inch rectangle about 1/4 inch thick. Spread dough with 1/3 cup butter and sprinkle evenly with sugar/cinnamon mixture. Roll up dough and cut into 12 rolls (or more smaller rolls). Place rolls in a lightly greased 9x13 inch glass baking dish (make sure you use a glass dish so the rolls do not overcook at the bottom and remain moist). *I greased the dish with some butter to give them a lighter flavor, and sprinkled the bottom of the pan with a little bit of left over brownsugar and cinnamon mixture.  Cover and let rise until nearly doubled, about 30-60 minutes. *At this point you can put them in the refrigerator for the next morning if you are doing them the night before.

Meanwhile, preheat oven to 350 degrees. Bake rolls in preheated oven until golden brown, about 18-20 minutes. *It actually took my rolls longer to bake, about 25 mins, I would check by inserting a toothpick between the rolls (in the doughiest part), if it comes out clean then they are done.
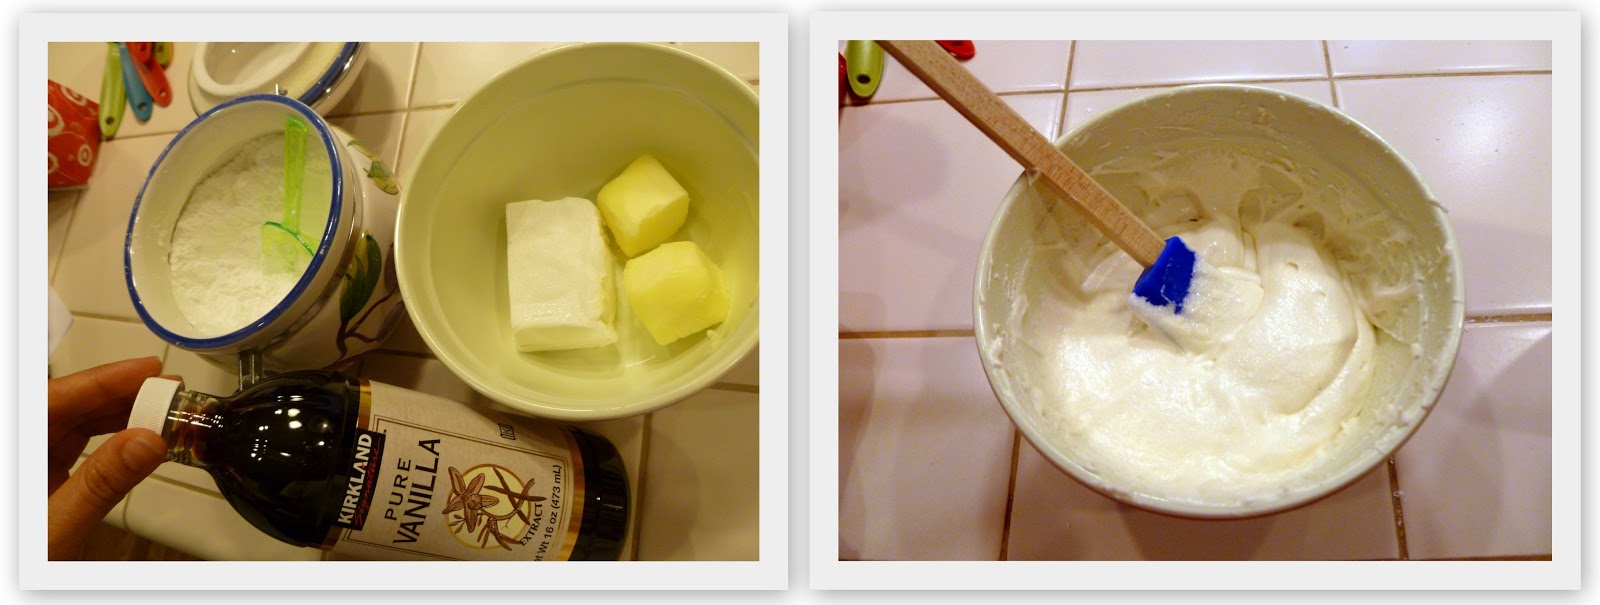
While rolls are baking, beat together cream cheese, butter, confectioners' sugar, vanilla extract and salt. Spread frosting on while they are still warm so that the frosting melts into the roll. *You can also use store bought cream cheese frosting if you want to save some time.
PICTURES:
Time to make the dough!

That kinda looks like a rectangle right?

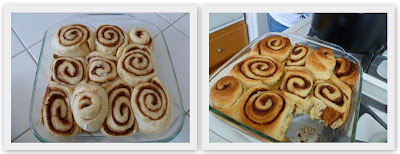
That's the dough after it grew for an hour, they were actually really small then they expanded!! Those are the finished rolls, I had to eat one! *note: I slightly over cooked mine, but they still tasted amazing :) I don't like my cinnamon roll too doughy, hehe
My favorite part, FROSTING!
Finally, time to eat!!

Tuesday, September 14, 2010

Easy Minestrone Soup

This is one of my favorite minestrone soup recipes because it's very quick and easy.  I modified it from a recipe from the Martha Stewart cookbook,  Everyday Food: Fresh Flavor Fast: 250 Easy, Delicious Recipes for Any Time of Day (Everyday Food (Clarkson Potter)).

INGREDIENTS:

1 tablespoon Olive Oil
1 tablespoon chopped fresh Rosemary (or 1 teaspoon dried)
1 medium onion, finely chopped
2 garlic cloves, minced
1 large zucchini, quartered lengthwise and sliced crosswise 1/2inch thick
1 large carrot
1/4 medium head cabbage, halved lengthwise and shredded
1 cup Spinach (optional)
2 cans (14.5 ounces) diced tomatoes in juice
1 can (19 ounces) of kidney beans, drained and rinsed
4 ounces seashell macaroni
Freshly Grated Parmesan or Romano Cheese (optional)
Salt
Pepper

DIRECTIONS:

  1. In a large pot, heat the oil over medium heat.  Add onion, garlic and carrot; cook, stirring frequently, until onion is translucent, 3-4 minutes.
  2. Stir in zucchini, cabbage, and rosemary; cook, stirring until vegetables are coated, 1-2 minutes.
  3. Add tomatoes with their juice and enough water (about 3-4 cups) to cover vegetables by 1 inch.  Bring to a boil; reduce heat to a simmer.  Season with salt and pepper.  Cook until soup is thickened and vegetables are tender, about 20 minutes.  
  4. Stir in pasta; cook until pasta is al dente, 10-15 minutes. Season with salt and pepper.
  5. Stir in red beans and spinach, cook 2-3 minutes. 
  6. Serve into bowls and if you like cheese, garnish with some freshly grated Parmesan or Romano cheese. 
SERVINGS: Vary

COOK TIME: 1 HR
    TIPS:
    1. I am a BAD chopper and I hate chopping onions, I can never chop it finely enough and it makes me cry, so I chop it up in the food processor, this not only saves time but it leaves it very finely chopped.  For this recipe I chop the onion and garlic together in the food processor.  
    2. You can use any type of pasta you like, I really like seashell pasta but you can use elbow macaroni, seashell pasta, anything really.
    3. If you like more vegetables in your minestrone soup, feel free to add more, you will probably need to add more water to the soup and simmer it longer. 
    4. It's really important to season your soup with salt and pepper or else it will end up bland so don't be afraid to taste it!